How to install Win11 in Proxmox | Quick guide | And fix problems of network search

Bl1c

New Member
Aug 15, 2023
6
9
3
Ukraine
To get started, we need:
Next create VM, We need this:
  • OS — use w11 image
  • System — use SCSI controller — VirtIO SCSI | Bios OVMF (UEFI) and add TPM
  • Disk — VirtIO Block and minimal disk size 64 Gb
Add CD/DVD Drive to Hardware, use IDE virtio-win Image. Now we can start VM and press Enter to Console VM.
As usual, go through all the steps to the disk selection window.
Next step: “Load Drive” We are looking for CD virtio-win. Open folder viostore > w11 > amd64.
We continue with the usual installation.

But, I faced the following problem.
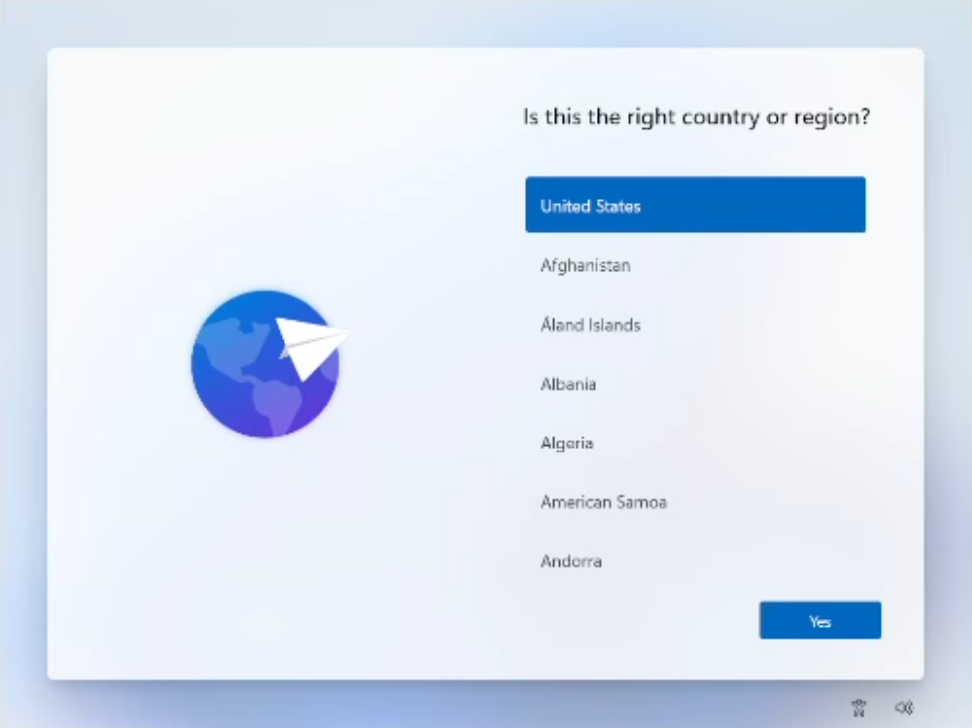
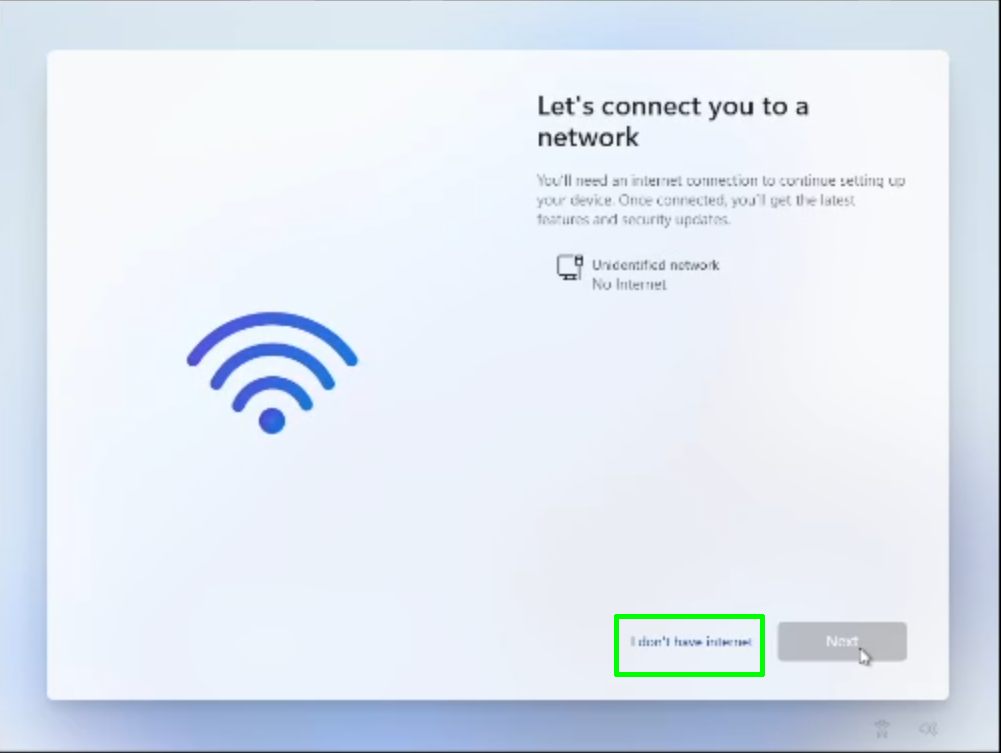
In the network device selection window, but a network was detected and could not be skipped this step.
My network device received IPv6 settings for DHCP.
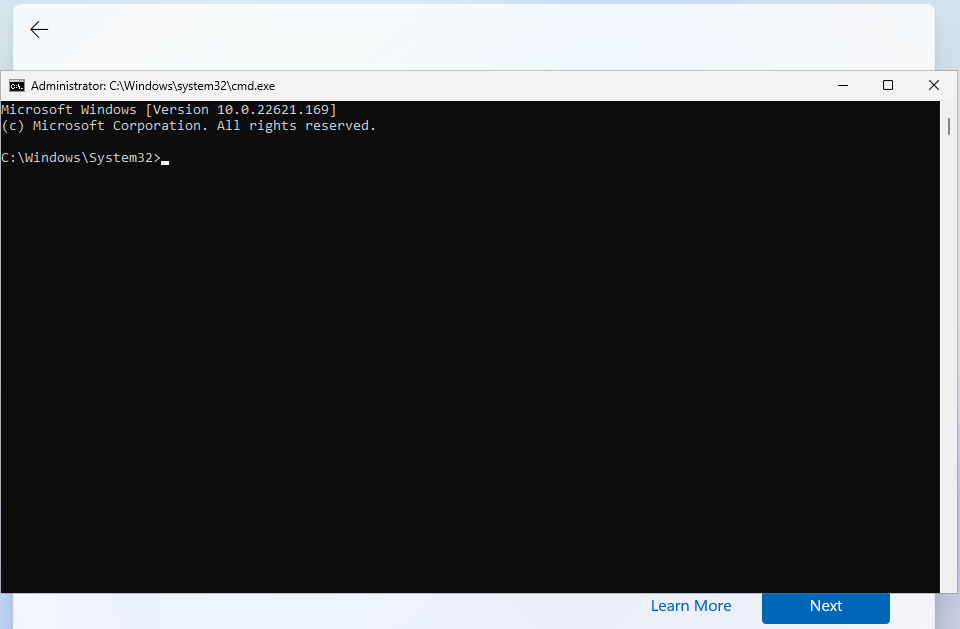
Open Shift+F10 console. Open taskmgr to stop network connection flow service.
We can open Special features and change network setting on Windows. I set my current IPv4 parameter, and again stop network connection flow service.

Hooray, everything should go smoothly from here on out) But this is win11 :D
 
Great guide!

I got stuck at the network step as I wasn't able to open the special features, but found another way around here that worked perfectly for me:

You can open another prompt and you can change to drive D: and you can run the VirtIO MSI or EXE from there.

I guess that if you do this in the first step, it install all drivers and you have to do it only once, not sure, but will try next time.

Thanks!
 
I was not able to boot after following these fantastic instructions. I had to go to Options to change the Boot Order.
Original: Options > Boot Order > ide2, net0
Modified: Options > Boot Order > virtio0, ide2, net0
 
  • Like
Reactions: lewix and Bl1c
Thanks for the settings.
Everything works, but why choose Disk — VirtIO Block?
You can just select Hardware - Hard Disk - SATA and it will work without additional drivers.
So, you need to go to Options - Boot Order and disabled the net0.
And Hardware - Network Device choose Realtek RTL8139 or something else, except VirtIo.
 
Last edited:
  • Like
Reactions: Bl1c
Thanks for the settings.
Everything works, but why choose Disk — VirtIO Block?
You can just select Hardware - Hard Disk - SATA and it will work without additional drivers.
So, you need to go to Options - Boot Order and disabled the net0.
And Hardware - Network Device choose Realtek RTL8139 or something else, except VirtIo.
VirtIO is used because it offers way better performance in virtualized environments. SATA and Realtek work without extra drivers, but they add emulation overhead, which slows things down. VirtIO is designed for VMs, so disk and network I/O are much faster. If you don’t mind installing the drivers, it's definitely worth it for the performance boost.
 
VirtIO is used because it offers way better performance in virtualized environments. SATA and Realtek work without extra drivers, but they add emulation overhead, which slows things down. VirtIO is designed for VMs, so disk and network I/O are much faster. If you don’t mind installing the drivers, it's definitely worth it for the performance boost.
Curiously..
This page suggests otherwise

Note: Proxmox recommends using SCSI with VirtIO SCSI single as SCSI Controller Type for VM disks, to have the most features and best performance.
VirtIO block may get deprecated in the future.

I'm no authority on the subject, can't say if that advice remains current or not..
 
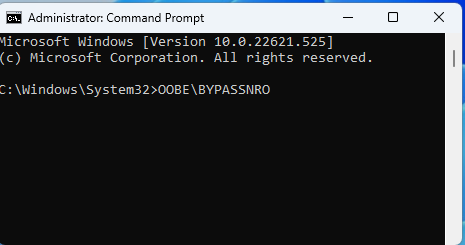
hi to all, another way to bypass the network screen:

1- open console (shitf+F10)
2- type oobe\bypassnro and enter

the instalation will reset and start again, but when we reach the network seleccion will apear a button to skip (i don't have internet)

hope this helps
 
One thing that this guide doesn't mention, but might be important for someone to know.

You cannot install with one core/one thread.

It will fail the install for that reason. Adding a second core let the installation proceed.
 
  • Like
Reactions: Bl1c and Lombra
hi to all, another way to bypass the network screen:

1- open console (shitf+F10)
2- type oobe\bypassnro and enter
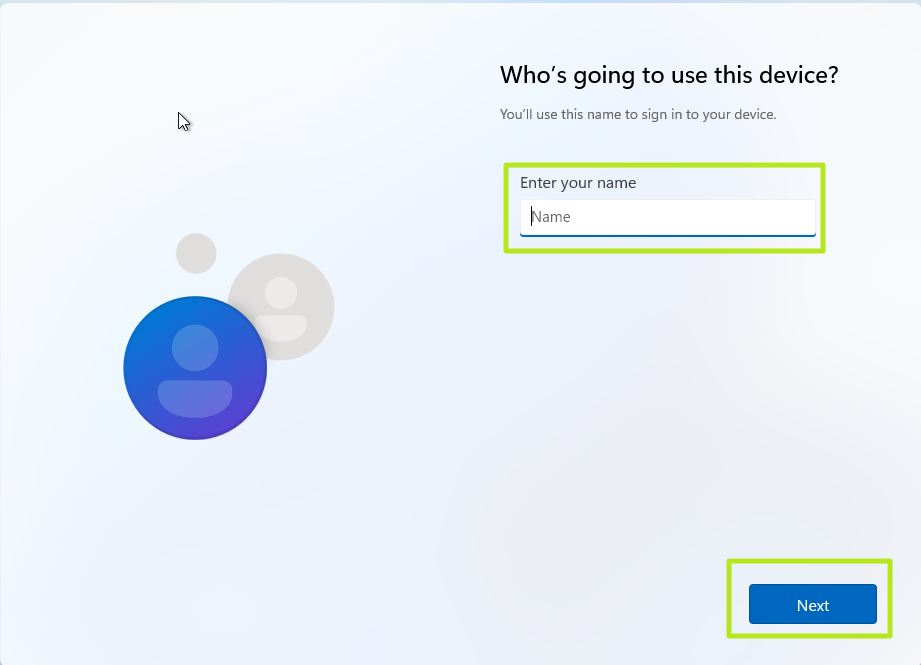
This can also be used to bypass making a Microsoft account to set up, and create a local account instead.
When you're at the Regional Settings, console up and do the bypassnro, the VM will then reboot.
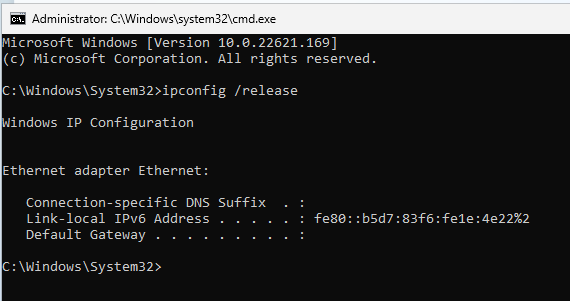
Once it returns, you need to disconnect networking. So you can do terminal again and ipconfig /release, or just set the NIC for disconnected.
At some point it'll guilt you into creating an account but there will be an "I don't have internet" option, and that's your way out.

There's more thorough howtos easily available in a search, but they boil down to these steps.
 
  • Like
Reactions: Bl1c and gr3n
To get started, we need:
Next create VM, We need this:
  • OS — use w11 image
  • System — use SCSI controller — VirtIO SCSI | Bios OVMF (UEFI) and add TPM
  • Disk — VirtIO Block and minimal disk size 64 Gb
Add CD/DVD Drive to Hardware, use IDE virtio-win Image. Now we can start VM and press Enter to Console VM.
As usual, go through all the steps to the disk selection window.
Next step: “Load Drive” We are looking for CD virtio-win. Open folder viostore > w11 > amd64.
We continue with the usual installation.

But, I faced the following problem.
In the network device selection window, but a network was detected and could not be skipped this step.
My network device received IPv6 settings for DHCP.
Open Shift+F10 console. Open taskmgr to stop network connection flow service.
We can open Special features and change network setting on Windows. I set my current IPv4 parameter, and again stop network connection flow service.

Hooray, everything should go smoothly from here on out) But this is win11 :D

Just another route to getting past the network issue with Win 11...You can install the full qemu guest agent package from CMD since you've already pulled it up with Shift + F10. Instead of killing that process you can just navigate to your ISO and run:
D:\virtio-win-guest-tools.exe /quiet /norestart
 
  • Like
Reactions: Bl1c
just trying to remember my win11 bypass of sign in of a new win11 install with all the above steps here...UGGGH!!
 
Last edited:
As of today (Win11 24H2), the Virtio-SCSI storage driver is:

virtio-win/vioscsi/w11/amd64

And the memory ballooning driver is:

virtio-win/Ballon/w11/amd64
why is this different than the path in OPs post? what changed to make it this now?
 
To get started, we need:
Next create VM, We need this:
  • OS — use w11 image
  • System — use SCSI controller — VirtIO SCSI | Bios OVMF (UEFI) and add TPM
  • Disk — VirtIO Block and minimal disk size 64 Gb
Add CD/DVD Drive to Hardware, use IDE virtio-win Image. Now we can start VM and press Enter to Console VM.
As usual, go through all the steps to the disk selection window.
Next step: “Load Drive” We are looking for CD virtio-win. Open folder viostore > w11 > amd64.
We continue with the usual installation.

But, I faced the following problem.
In the network device selection window, but a network was detected and could not be skipped this step.
My network device received IPv6 settings for DHCP.
Open Shift+F10 console. Open taskmgr to stop network connection flow service.
We can open Special features and change network setting on Windows. I set my current IPv4 parameter, and again stop network connection flow service.

Hooray, everything should go smoothly from here on out) But this is win11 :D

I'd like to add an important point to this guide that can occur when installing Windows 11 in a Proxmox VM: missing network adapters. It can happen that Windows doesn't detect a network card during setup, which means you can't configure a network connection.

The Problem:
As seen in the screenshot "NoAdaptersShwon", no network adapters are displayed under ncpa.cpl. This means Windows doesn't recognize the VM's virtual network adapter. The most likely reason for this is that the necessary VirtIO drivers for the network adapter are missing.

The Solution:
To fix this, we need to manually install the VirtIO network driver. Here are the steps:
  1. Open Device Manager: Press Shift + F10 to open the command prompt, type devmgmt.msc, and press Enter.
  2. Find the Network Adapter: In Device Manager, look for an entry under "Other devices" (or "Unknown devices") with a yellow warning icon. This is your unrecognized network adapter.
  3. Install the Driver:
    • Right-click on the unknown network adapter and select "Update driver."
    • Choose "Browse my computer for drivers."
    • Click "Browse..." and navigate to the virtio-win CD/DVD drive that you added to the VM.
  4. Navigate to the Correct Folder:
    • Within the virtio-win ISO, look for the NetKVM folder. This is where the VirtIO network drivers are located.
    • Select the subfolder that matches your Windows 11 version (e.g., w11, Win10, 2k22, or a folder with your Windows version and architecture, typically amd64).
  5. Start Driver Installation: Ensure the "Include subfolders" option is checked, and click "Next." Windows should now install the driver.
After successful installation, the network adapter should be correctly displayed in Device Manager, and you'll be able to configure your network settings.
 

Attachments

  • NoAdaptersShown.jpeg
    NoAdaptersShown.jpeg
    78.6 KB · Views: 6