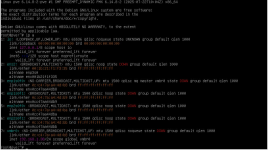
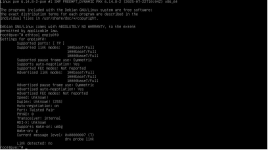
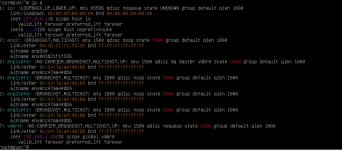
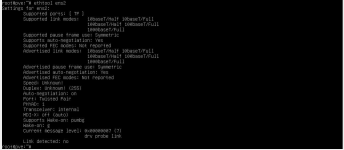
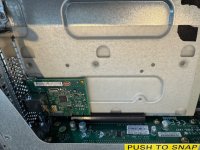
Yeah I can’t access the GUI yet so I have to do it via
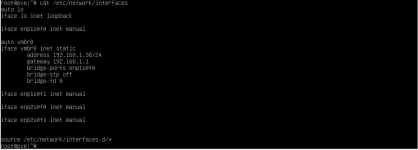
cat /etc/network/interfaces ?
I‘m searching through Google to see how I can do via interfaces
Will this work?
In a Proxmox VE environment, you can't directly rename the virtual bridge vmbr0 to ens2, as they are two different types of network devices. The vmbr0 is a Linux bridge that acts as a virtual switch, while ens2 is a physical network interface (the name for a NIC, or Network Interface Card).
To change your network setup so that your virtual machines and the Proxmox host itself use the ens2 physical interface, you need to modify the network configuration file.
auto lo
iface lo inet loopback
iface enp3s0 inet manual
auto vmbr0
iface vmbr0 inet static
address 192.168.1.10/24
gateway 192.168.1.1
bridge-ports enp3s0
bridge-stp off
bridge-fd 0
In this example, vmbr0 is the network bridge, and it's using the physical interface enp3s0. Your goal is to change enp3s0 to ens2.
1. Identify Your Current Network Configuration
First, you need to access the Proxmox host's shell to check the current setup. You can do this via the web GUI's shell or an SSH client.Once you're in, run the following command to view the network configuration file:
cat /etc/network/interfaces
The output will show you the current configuration, likely similar to this:
2. Edit the Network Interfaces File 
Use a text editor like nano or vim to edit the configuration file.
nano /etc/network/interfaces
Find the vmbr0 section and change the bridge-ports line to use ens2 instead of the old physical interface name.
Before:
auto vmbr0
vmbr0 inet static
address 192.168.1.10/24
gateway 192.168.1.1
bridge-ports enp3s0
bridge-stp off
bridge-fd 0
After:
auto vmbr0
vmbr0 inet static
address 192.168.1.10/24
gateway 192.168.1.1
bridge-ports ens2
bridge-stp off
bridge-fd 0
Don't forget to also find and change the line iface enp3s0 inet manual to iface ens2 inet manual. This ensures that the physical interface itself is not configured with an IP address, as its role is now to serve as a port for the bridge.
After making the changes, save and exit the file. In nano, press
CTRL + X, then
Y, and
Enter.
3. Apply the Changes
Once the file is saved, you have two options to apply the changes:
- Via the Proxmox GUI: Go to Node -> Network and click the Apply Configuration button. This is the safest method and, with the ifupdown2 package installed, it can apply the changes without a reboot.
- Via the command line: Run the command ifreload -a. This will attempt to apply the new configuration.
If those methods fail or if you're not using the ifupdown2 package, a simple reboot of the Proxmox host is a guaranteed way to apply the new network settings.
reboot


